
Purchasing new car tires , whether online or at your local shop, is a significant financial commitment to your comfort and safety. However, it is not only about getting the tires but also about their quality.
Thus, there is a need to understand how to check new tyre quality. Let’s get started!
Why New Tire Inspection Matters
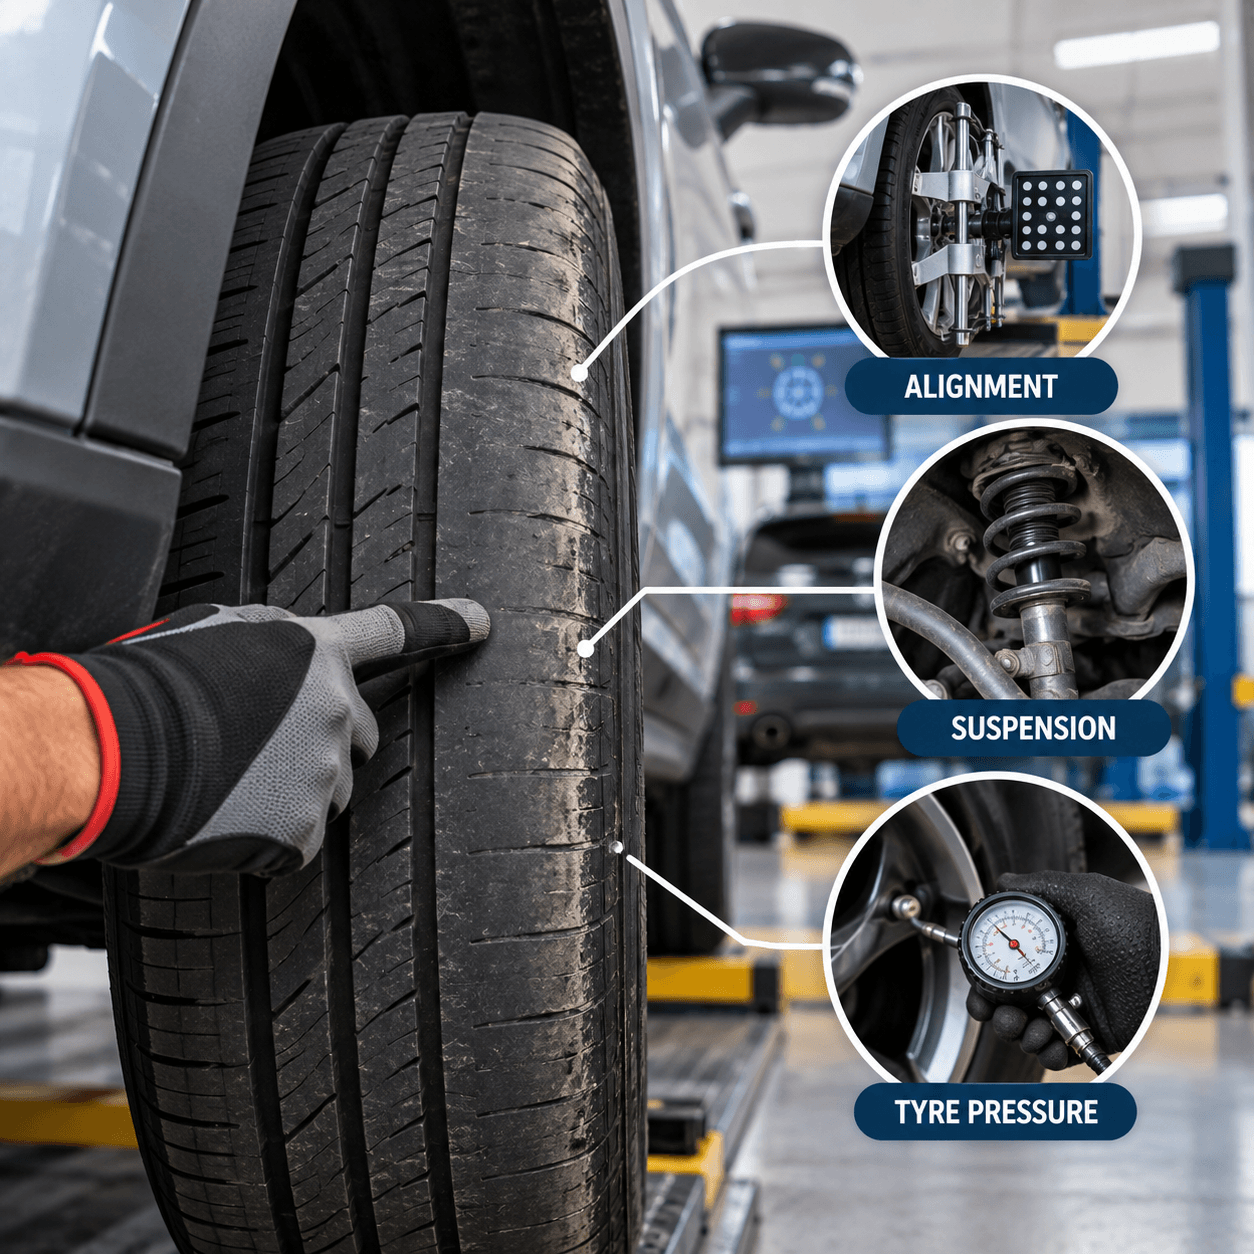
Even if the tyres are brand new, a thorough inspection will assess:
- Hidden damages, such as internal wear or sidewall cracks
- Valve stem damage or slow leaks
- Balancing and alignment issues
- Uneven wear patterns, indicating suspension issues
A detailed inspection using this new tyre inspection guide can prevent:
- Blowouts at high speeds
- Expensive suspension repairs
- Poor braking performance
- Unnecessary tire replacements
How to Check New Tyres on Delivery: Step-By-Step Tyre Quality Checklist
Let’s look at the step-by-step tyre inspection checklist UAE:
-
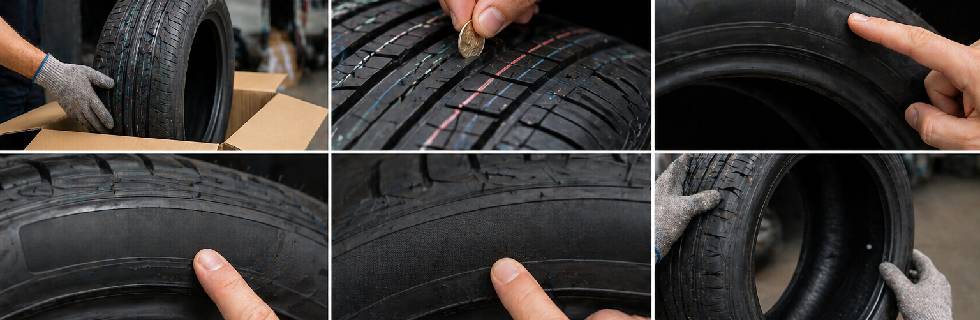
Step 1 - Check The Packaging
When you get the delivery, check the outer packaging, regardless of how it is wrapped. Check the packaging for:
- Tears, puncture, or too much dirt
- Moisture exposure
- Implications of mishandling, such as deformity or crushing.
A torn package may not necessarily indicate a damaged tire. In the event of packaging damage, conduct an extensive examination.
-
Step 2- Check Tire Specifications
Before starting with the physical inspection, check whether you have received the tire you ordered. You should check the sidewall marking for:
- Tyre size
- Model and brand
- Speed rating and load index
-
Step 3 - Check The Manufacturing Date
The DOT is a manufacturing date code printed on each tire's sidewall. The last four digits will indicate the DOT. For example, on the sidewall, you may see the number “3025,” which indicates that the tire was made in the 30th week of 2025.
The best case is to buy a tire that is not more than 12 months old. This is because tires can even degrade when not in use.
-
Step 4 - Examine The Tread
This is the most crucial part of the tire, so carefully inspect for:
- Uniformity of tread pattern
- Consistent depth
- No cracks, cuts, or rubbish.
You can check the tire by hand for irregularities.
-
Step 5 - Check For Sidewall Damage
The sidewall should always be in perfect condition and is more vulnerable than the tread. So, closely look for:
- Bubbles or bulges
- Deep scratches
- Cuts or cracks
Even minor damage can compromise the tire’s structure, posing a danger.
-
Step 6 - Look For Warping And Deformation
You should observe the tire's shape and check whether it is perfectly round. There should be no uneven curves or flat areas on the tire. It can also be due to improper tire storage, which can lead to uneven wear or vibrations.
-
Step 7 - Test Tire Bead Area
The bead seals the tire against the rim and is the tire’s inner edge, which should be perfect. Cuts, dirt, or other foreign particles, as well as deformation of this bead, can cause incorrect fitting or air leakage.
-
Step 8 - Examine The Discoloration Indication
When the tire is in good condition, it will be black. However, grey spots, small cracks, or color disfigurements are due to the tire being left in the sun or in hot weather. This is an indication of bad rubber.
-
Step 9 - Smell The Tire
Smelling the tire is also important, just like the visual examination. In a new tire, the rubber smell will never go away. In case of an unusual smell, it could mean:
- An old stock
- Material degradation
- Improper storage
Even though it is not an accurate test, it can still give you an idea of whether the tire is a good one to install.
-
Step 10 - Confirm Branding And Authenticity
Counterfeit tires are common and can be a real problem in the long run. Hence, always check:
- The brand name is correctly spelled and is clear
- Serial numbers are present and consistent
- Markings and logos are not faded
If you see unusual branding or blurry text, always verify it before using it on your vehicle.
-
Step 11 - Check All The Remaining Tires
If you have ordered more than one tire, ensure you check all of them in the same way. You should not install mismatched tires as they can affect your vehicle’s performance.
-
Step 12 - Check Tyre Documents
After the inspection is complete, ensure you have received all the documents. This will include the invoice, the manufacturer’s guidelines, and the warranty card. These are all necessary documents for future support or claims.
Getting a new tire should bring you peace of mind, but only if you are sure of its quality. That is why our guide will help you how to inspect tyres before installation. We can help you buy new tires specific to your car and have them fitted at Dial A Tire.
Compare the above information with your order information, as installing the wrong tire can affect your vehicle’s performance.
FAQs ?
Tire check is a rigorous quality inspection to identify the condition of a tire, whether damaged, defective, worn, or torn. This is needed to ensure your safety and that of your vehicle on the road.
A few things you must check during the inspection include tread wear, air pressure, sidewalls, cracks, wear and tear, punctures, bulges, alignment, valve condition, and production date.
You can only get the tires repaired for a small puncture, which should be less than 6mm. In any other case, such as sidewall damage, cuts, or cracks, replacement is the only option.
No, you can easily complete the tire inspection in under 30 minutes. However, ensure you know what to check, or have a professional assist you, to reduce the time required.
Yes, you should periodically check your tires for visible signs of wear and tear, cuts, or cracks. This will help you get the tires repaired early rather than replaced.